Follow the instructions in WIMBoot Stage 1 before proceeding. You should have a GRUB4DOS/GRUB4EFI bootable USB with menu options for WinPE and wimboot.vhd, with partition 2 on the USB drive containing the file \win11wimboot.wim and SVBus driver files. This stage covers the following steps -
NOTE - Windows 8.1 Update based versions of WinPE (or newer) are required to complete Step 6. Previous versions of WinPE/Windows do not include the Windows Overlay File System driver (wof.sys) and will not recognise the filesystem extracted in step 5. Windows 10 (1703) or newer is required to create and mount a multiple partition USB disk if a removable type disk is used.
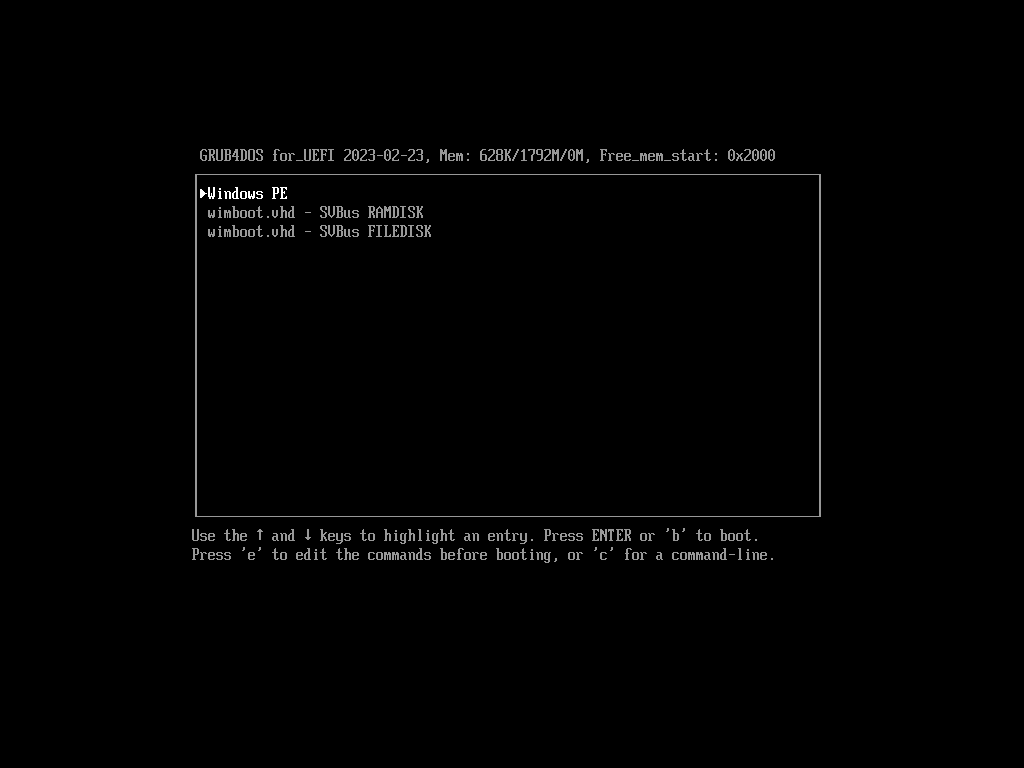
Boot the USB and select the menu option Windows PE -
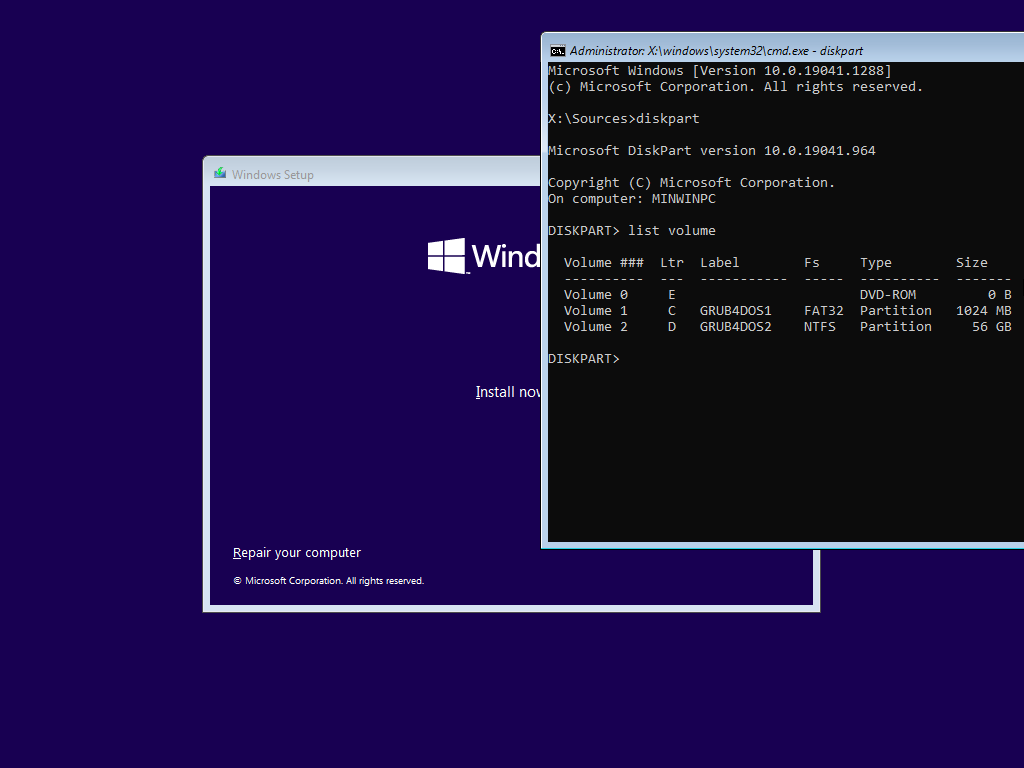
After WinPE has finished loading, select the keyboard layout and then press the Shift+F10 keys to open a command prompt. The screenshot below shows DiskPart output after running the command list volume -
After booting WinPE, run DiskPart commands to identify the internal disk (e.g. list disk > select disk # > detail disk (refer here for more information about using DiskPart)).
After identifying the correct disk, the following series of commands were executed on a UEFI system to prepare the blank disk (with disk # edited to reflect the disk number identified in the preceding step). WARNING - this series of commands will wipe the selected disk and could result in data loss if the wrong disk is selected.
After booting WinPE, run DiskPart commands to identify the internal disk (e.g. list disk > select disk # > detail disk (refer here for more information about using DiskPart)).
After identifying the correct disk, the following series of commands were executed on a BIOS system to prepare the blank disk (with disk # edited to reflect the disk number identified in the preceding step). WARNING - this series of commands will wipe the selected disk and could result in data loss if the wrong disk is selected.
Note that the commands on BIOS firmware will differ to the commands in the UEFI section as GPT type disks are not supported (by BIOS).
Proceed to step 3b if following the instructions for use on low RAM systems.
A VHD with two partitions is used as this supports booting the same file on UEFI and BIOS firmware. The first partition (FAT32 file system) will be used for the boot files required to load the operating system located in the second partition when the VHD is mapped using GRUB4DOS/GRUB4EFI (see here for more information).
Use the DiskPart list volume command to identify mount points (drive letters) for the different devices and partitions -
For the Windows 11 WIMBoot tests, the following DiskPart commands were used to create a 10GB virtual hard disk on drive G:\ (identified using the DiskPart List volume command). Change size, filename, path and mount point according to your own requirements -
Ignore this step if you followed step 3a.
On low RAM systems, win11wimboot.wim can be copied to a local disk rather than the mounted VHD file. This can significantly reduce RAM requirements when mapping the VHD file as a RAM disk, as the VHD file only needs to be large enough for file dependencies that are extracted in full from win11wimboot.wim (in step 5b). Additional space is required for the systemdrive so that Windows will run, however the RAM the requirement is effectively reduced by the file size of win11wimboot.wim.
Use the DiskPart list volume command to identify mount points (drive letters) for the different devices and partitions -
For the Windows 11 WIMBoot tests, the following DiskPart commands were used to create a 5GB virtual hard disk on drive G:\ (identified using the DiskPart List volume command). Change size, filename, path and mount point according to your own requirements -
Proceed to step 4b if following the instructions for use on low RAM systems.
In this step we will be copying the win11wimboot.wim file created in WIMBoot Stage 1 from the USB disk to the mounted VHD partition 2.
Use the DiskPart list volume command to identify mount points (drive letters) for the different devices and partitions -
Analyising the output from the list volume command, partition 2 of the USB drive (which should contain \win11wimboot.wim) is identified as drive\volume D:\. D:\win11wimboot.wim will be copied to the root of the W:\ drive.
Use the copy command to copy D:\win11wimboot.wim to W:\win11wimboot.vhd (the /Z parameter will display progress)
Output -
Ignore this section if you followed step 4a.
In this step we will be copying the win11wimboot.wim file created in WIMBoot Stage 1 from the USB disk to the internal disk prepared in step 2a/2b.
Use the DiskPart list volume command to identify mount points (drive letters) for the different devices and partitions -
Analyising the output from the list volume command, partition 2 of the USB drive (which should contain \win11wimboot.wim) is identified as drive\volume D:\. D:\win11wimboot.wim will be copied to the root of the G:\ drive.
Use the copy command to copy D:\win11wimboot.wim to G:\win11wimboot.vhd (the /Z parameter will display progress)
Output -
Proceed to step 5b if following the instructions for use on low RAM systems.
Extract the contents of image 1 in W:\win11wimboot.wim to the target drive (W:\ - partition 2 in the mounted .vhd file) - adjust paths as required. Note the use of the /WIMBoot parameter -
Alternative using wimlib. Extract the contents of image 1 in W:\win11wimboot.wim to the target drive (W:\ - partition 2 in the mounted .vhd file) - adjust paths as required. Note the use of the --wimboot parameter -
Ignore this step if you followed step 5a.
After following step 4b (low RAM system), \win11wimboot.wim is in the path G:\win11wimboot.wim rather than copied to the mounted VHD file. This will reduce RAM requirements by the file size of win11wimboot.wim when mapping the VHD file as a RAM disk.
Extract the contents of image 1 in G:\win11wimboot.wim to the target drive (W:\ - partition 2 in the mounted .vhd file) - adjust paths as required. Note the use of the /WIMBoot parameter -
Alternative using wimlib. Extract the contents of image 1 in G:\win11wimboot.wim to the target drive (W:\ - partition 2 in the mounted .vhd file) - adjust paths as required. Note the use of the --wimboot parameter -
NOTE - do not move, rename or delete G:\win11wimboot.wim if using this method.
Locate the SVBus driver files. Use the DiskPart list volume command to identify mount points (drive letters) for the different devices and partitions -
Analyising the output from the list volume command, partition 2 of the USB drive is identified as drive\volume D:\. SVBus driver files should be in the path D:\svbus\.
The SVBus driver can be installed to an offline system using the DISM tool. E.g. -
Output -
More detailed information about using DISM to install the SVBus, including errors linked to requiring the latest version of DISM, is available here
Use the bcdboot command to create boot files in Drive V:\ (the first partition in the virtual hard disk. See here for more information about bcdboot usage).
Specifying the /f ALL parameters will create BIOS and UEFI boot files, facilitating the use of the VHD on BIOS or UEFI firmware.
Enter the following DiskPart commands to detach/unmount the virtual hard disk -
Proceed to stage 3 after completing the steps listed above (see here)
Document date - 12th April 2023