Please note that the screenshots below were captured from a previous version of MistyPE and may differ in this release.
Whilst Mini-WinFE has been designed to be as simply as possible, it has not been possible for me to create a "one-button push" method. It should however be very simple to create a WinPE in a matter of minutes. To do so you will need -
Windows Installation Media - either a CD/DVD, a mounted disk image or the files copied to an accessible folder.
Administrator privileges - registry hives will need to be mounted and edited during the build process, and other processes also require administrator privileges.
Free disk space - 1GB should be more than adequate if the INJECT method is used. If the ADK script is used then significantly more storage space will be required (6GB recommended) + enough space to temporarily copy the contents of your USB drive (depending on whether the Create USB script is selected - and whether the option to back up existing contents is used.).
Your own copy of FTK Imager Lite / X-Ways Forensics / WinHex if you want to include them in the build.
Internet access - required only for LinuxReader. This is non-redistributable but will be downloaded automatically as part of the build process if selected Internet access is also required if the ADK script is used to download the ADK installation files.
Instructions -
Download the .zip package and extract the contents to a local folder - preferably a folder without spaces in the path.
Run winbuilder.exe
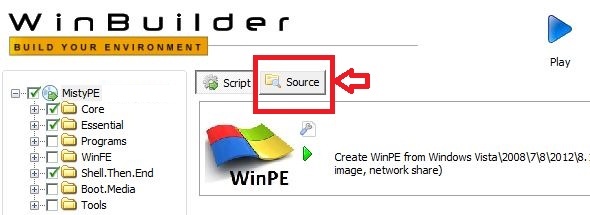
Click on the Source button to set the path to your Windows Installation Media source files.
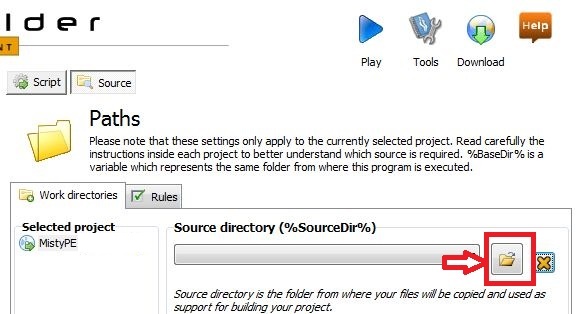
Click on the folder icon to the right of the Source Directory box to browse to the drive/folder containing your source files -
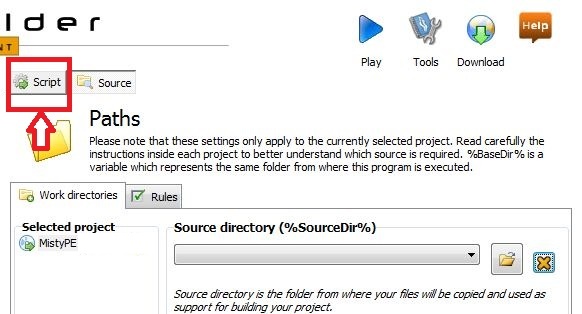
Click on the Script button to return to script options -
Now expand the folder tree on the left and view and select individual project script options as required (refer to the Project Scripts section for details about all included project scripts). Most scripts are included by simply selecting (ticking) the box, the exceptions are listed below -
Core\Core Files
Core\LaunchBar (LaunchBar settings)
Programs\Add Custom Batch and run at Start-up (edit batch)
Programs\Add Custom Folders\Files (set file path)
Programs\FTK Imager (add program to cache)
Programs\LinuxReader (add program to cache or download)
Programs\Wallpaper (set file path)
Programs\WinFE (change SANPOLICY, etc.)
Programs\WinHex (add program to cache)
Programs\X-Ways Forensics (add program to cache)
Boot.Media\Create ISO (various)
Boot.Media\Create USB (select target drive, etc.)
Boot.Media\Create USB (GPT UEFI) (select target drive, etc.)
Tools\ADK
Tools\Cache Files
Tools\Test in QEMU
I'd recommend selecting the Boot.Media\Create ISO project script - this can then be used to create a bootable CD/DVD or USB.
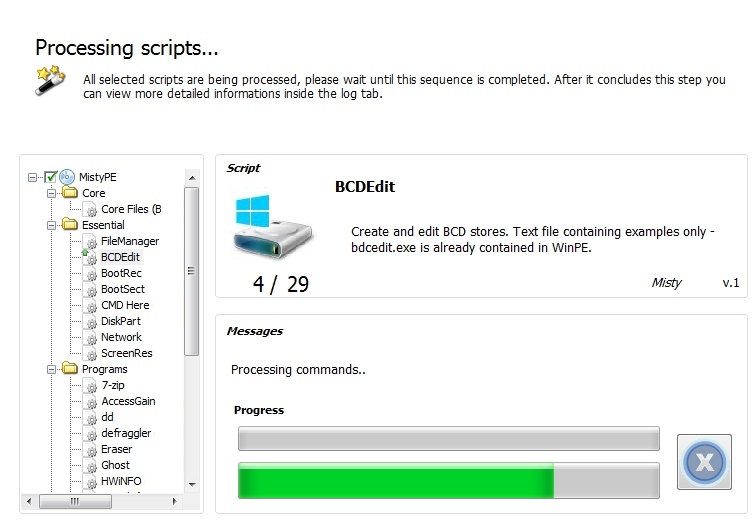
To start the build process, click on the big blue Play button in the top right of the screen -
A progress bar will be displayed for individual project scripts as they are processed -
That's it. Provided the Boot.Media\Create ISO script was selected you should now have a bootable ISO image file (\WinFE.Project.Output\WinPE.iso - the path is relative to winbuilder.exe) that can be burnt to CD/DVD. Alternatively see here for an easy method to create a bootable USB device.