VirtualBox version 6.0.8 r130520 (Qt5.6.2) was used during testing. Creating a Virtual Machine is not covered in this page - for VirtualBox usage, see here.
This page contains the following sections -
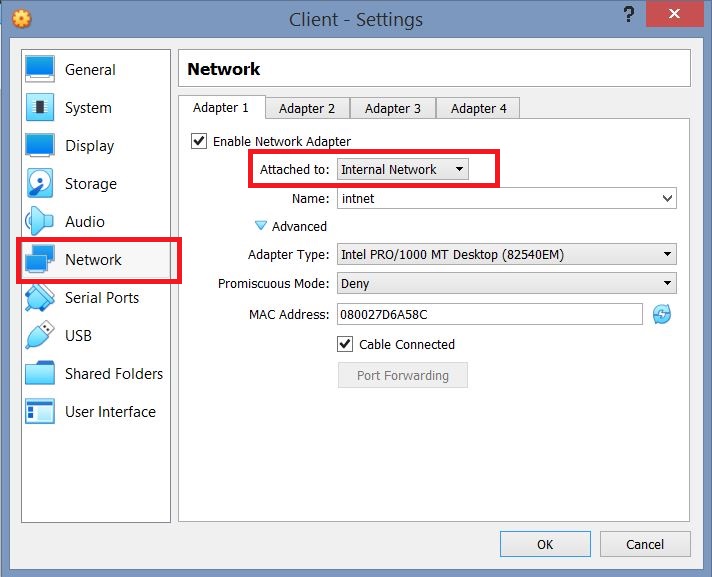
During tests two virtual machines were used with Settings > Network set to "Attached to: Internal Network" -
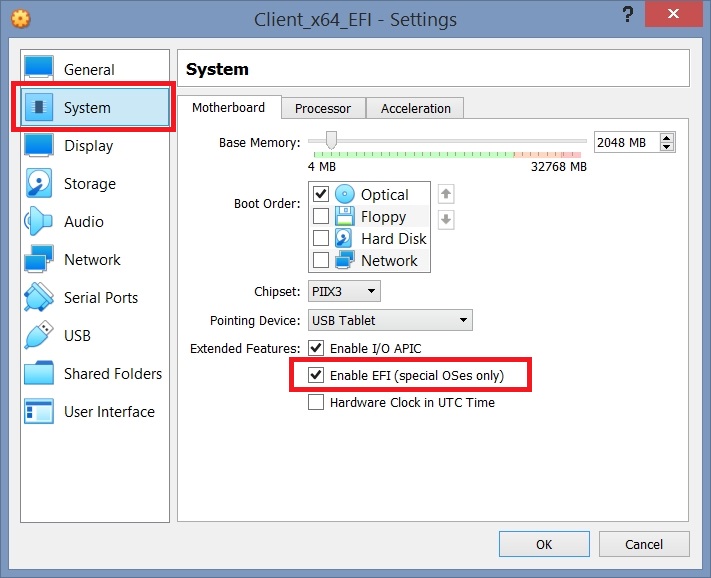
And Settings > System > "Enable EFI (special OSes only)" enabled on the Initiator system to test UEFI boot.
BIOS - VirtualBox includes a build of iPXE and will use this internal build when network booting. Unfortunately this version does not support SANHOOK or SANBOOT commands, however it can be used to CHAIN other iPXE builds that include these features. The test system included a DHCP and PXE boot server running on IP address 192.168.2.1 - the following command was used to chain ipxe.pxe - chain http://192.168.2.1/ipxe.pxe
UEFI - VirtualBox running in EFI mode does not include PXE boot support. During tests a bootable .iso file containing ipxe.efi was used to PXE Boot the system - this file is available here.
The following steps were carried out on the Vitual Machine hosting the iSCSI Target, following the installation of Windows 10.0.14393.
Open the Network Connections settings - Run dialog > ncpa.cpl > OK -
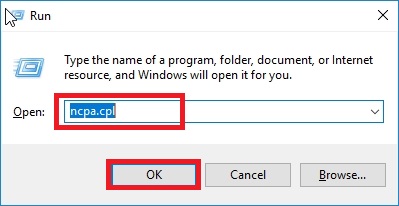
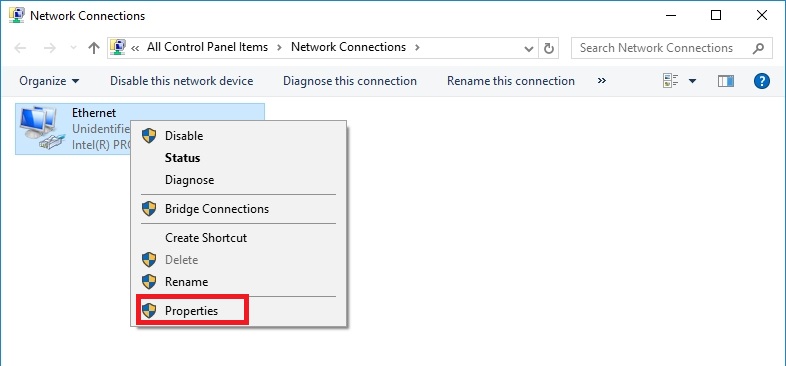
Right click on the adapter (there should only be one adapter visible) and select Properties
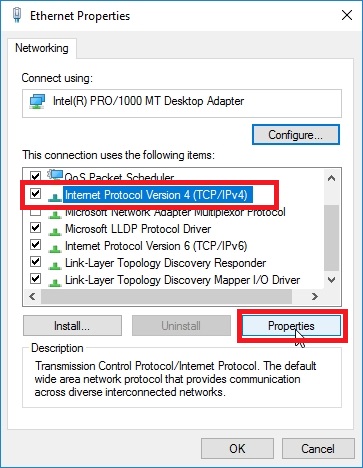
Select Internet Protocol Version 4 (TCP/IPv4) > Properties -
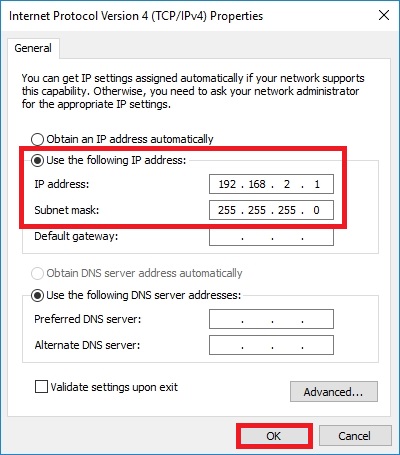
Configure the Network adapter to use a static IP address. E.g. select Use the following IP Address: and set IP Address: to 192.168.2.1 and Subnet mask: to 255.255.255.0. Other fields can be left blank. As an internal network is being used there should not be any conflicts with IP addresses running on the Operating System hosting VirtualBox.
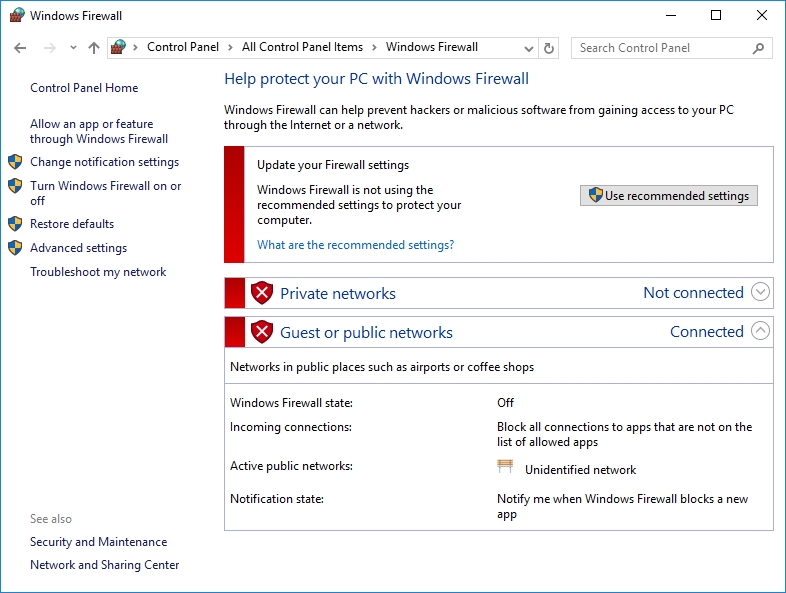
I recommend disabling the firewall to avoid any issues. E.g. run the following command - NetSh Advfirewall set allprofiles state off
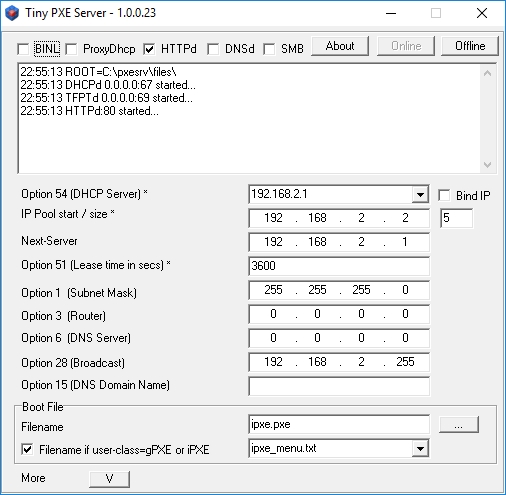
Whilst setting up a PXE Boot server is beyond the scope of this article, configuration settings for use with TinyPXE Server are included below. A detailed guide is available here. The TinyPXE Server build used during testing is available here - the package also includes the configuration file and iPXE files.
TinyPXE Server configuration file settings -
Screenshot of TinyPXE Server settings with the program running -
The iPXE opensource network boot loader was used to attach and boot the different iSCSI Targets during tests. Configuring iPXE is beyond the scope of this guide, however detailed information is available on the iPXE site and in the TinyPXE Server guide (including a page on how to compile iPXE (here) and menu system basics (here)).
The TinyPXE Server build used during testing is available here - the package also includes the configuration file and iPXE files.
Sample iPXE menu (edit lines 4 and 5 as required to change Target and Initiator IQN).
Document date - 14th June 2019