figure 1.
This article is a mini review with instructions on replacing/upgrading the 100S's pre installed Operating System with an alternative Windows 10 SKU (replacing Windows 10 Home with Windows 10 LTSB). The instructions may prove useful if other Windows versions need to be installed - although sadly I don't think it will be possible to install Windows 7 due to UEFI restrictions (this is covered below).
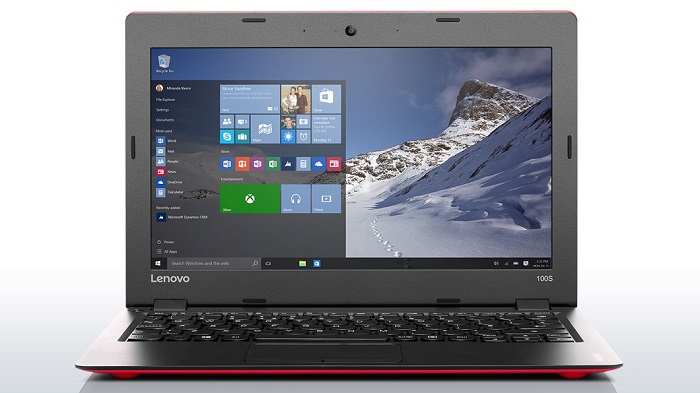
The Lenovo 100S (11iby) is an affordable Intel Atom based netbook - thanks to Black Friday deals I was able to purchase a unit for the bargin price of Ł109.99. Compared to other similarly spec'd models on the market and the Ł279.99 I paid for the last netbook I purchased (an Advent 4211B back in 2008) it really does feel like a bargin.
figure 1.
At this price point sacrifices have obviously been made, however this purchase is intended as a christmas present for my nine year old daughter and seems more than adequate for her needs (at the current time she is using my eight year old Advent 4211B - the battery no longer works and it feels less than responsive in use). The screen and overall build quality on the 100S feel great at this price point and the battery life is fantastic, with independent reviews achieving the 8 hours reported by Lenovo.
Hardware/Connections -
The 100S ships with a 32-bit UEFI firmware - not the BIOS firmware prevalent on older PC's (for example on the majority of OEM systems released prior to the introduction of Windows 8). UEFI firmware is standard on Windows 10 systems and has been a requirement for Windows Harware Certification since the release of Windows 8 - the secure boot feature introduced with Windows 8 is dependent on UEFI.
The 100S has an Intel Atom Z3735F processor - whilst this is actually a 64-bit processor it's not possible to install 64-bit Windows on this machine due to the firmware being restricted to 32-bit UEFI. On UEFI systems the operating system architecture must match the firmware architecture - unless a Compatibility Support Module (aka CSM/BIOS/legacy support) is included and enabled. The 100S is sadly missing a Compatibility Support Module so any Operating Systems are restricted to 32-bit UEFI implementations - this seriously limits supported Operating Systems. My limited research suggests that most 32-bit Linux distros do not support 32-bit UEFI. 64-bit Windows and Linux installations cannot be installed as the 64-bit Operating System architecture does not match the 32-bit UEFI architecture.
Based on the 100S's limited hardware the 32-bit Operating System restriction is not necessarily a bad thing as 64-bit versions of Windows generally have increased hardware requirements and the 100S has only 2GB of RAM and limited storage (a 32 GB eMMC drive). Without the CSM support the majority of Linux users are unfortunatly going to be disappointed.
I generally do not like stock Operating System installations on OEM systems due to the big Vendors including what is commonly referred to as Crapware (see here). To be fair to Lenovo the 100S did not appear to be overly burdoned with pre-installed software, however better safe than sorry. Installing a clean version of Windows on the 100S proved to be far more difficult than on other systems I have owned.
As the Firmware on the 100S is 32-bit UEFI I prepared a USB flash drive with a custom WinPE based on Windows 10. The flash drive was prepared by formatting it with a FAT32 file system and creating the required EFI folder structure (paths are relative to the drive root) -
The first problem I encountered was finding the boot menu on the 100S - if I'd taken the time to read the manual this would not actually have been a problem! After much trial and error, and on finally reading the manual, I was able to find the boot menu by pressing the “novo” button – a tiny button to the right of the power LED (see screenshot below) -
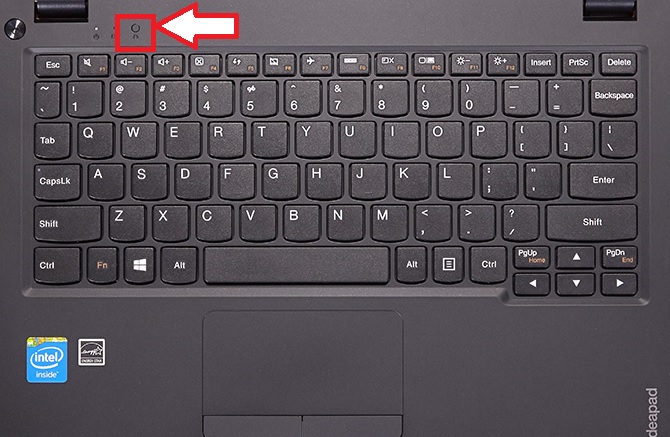
figure 1.
On pressing the Novo button and selecting the relevant menu entries, the USB drive booted without error. Unfortunately when my custom WinPE loaded, the keyboard and trackpad did not work. I overcame this problem by creating a new custom WinPE using the Windows Recovery Environment bundled with the 100S as a core - the recovery environment clearly contained additional drivers required for keyboard and trackpad support as when booted these devices worked fine.
From the booted WinPE I formatted the OS partition and EFI system partition on the 100S's internal drive (having made a backup first!) and applied install.wim from a Windows 10 LTSB 2016 source to the OS partition, then ran the bcdboot command to create the required boot files on the EFI system partition. I rebooted the machine and attempted to complete Windows setup - unfortunately this was not possible as the keyboard and trackpad were not recognised during installation. Whilst one forum pointed to installing the Intel Platform Driver as a solution (refer to post by Ron Hewitt here) this proved to be a chicken and egg scenario as I had no way of completing setup and running the Intel Platform Driver installer due to the input devices not functioning - an external USB keyboard can probably be used, however I didn't have one.
Back to the drawing board. The following steps are covered in more detail in the Walkthrough sections below -
Download the Intel Platform Driver for Windows 10 (32-bit) - ideapad 100S-11IBY installer from the Lenovo website. Run the installer.
Welcome to the Intel Platform Driver Setup Wizard - click on Next >
-
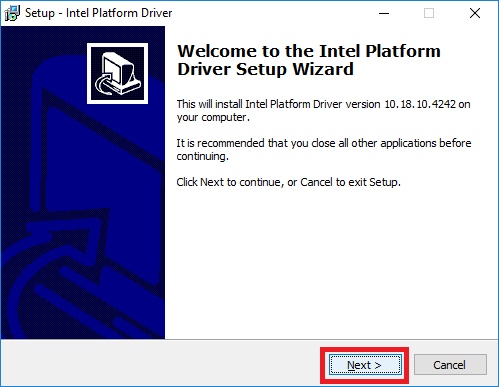
figure 3.
Licence Agreement - accept the agreement and click on Next > -
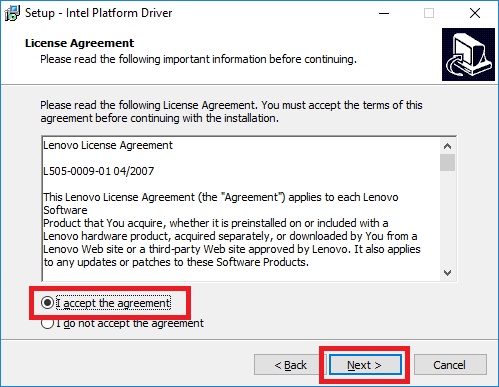
figure 4.
Select Destination Location - set the path as C:\DATA\Drivers and click on Next > -
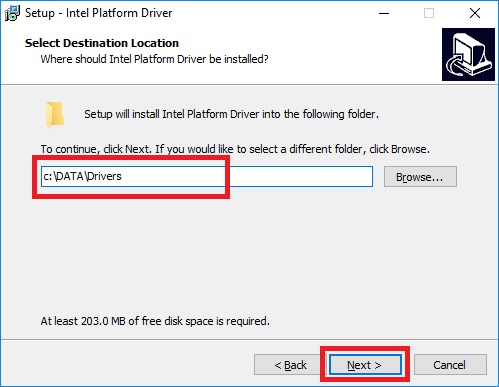
figure 5.
Ready to Install - check settings and then click on Install -
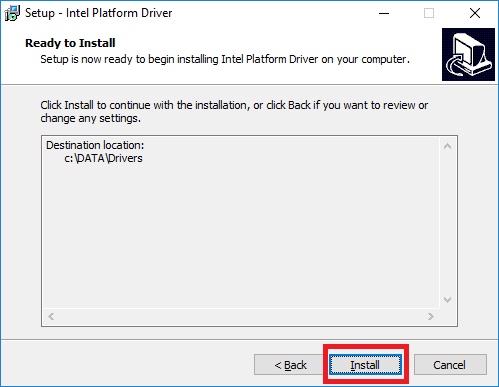
figure 6.
Installing - a progress bar will be displayed as driver files are extracted -
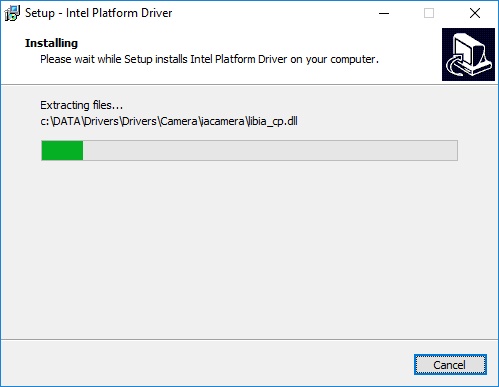
figure 7.
Completing the Intel Platform Driver Setup Wizare - ensure that the Install Intel Platform Driver now box is NOT selected and click on Finish -
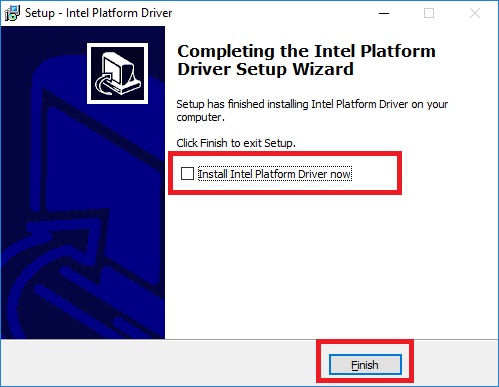
figure 8.
The Deployment Image Servicing and Management tool (DISM) can be used to inject drivers to an offline Windows installation. As the 100S requires third party drivers for the keyboard and trackpad to function in order to complete setup, the Intel Platform Drivers will need to injected into the Windows 10 LTSB installation files.
The following files/paths are used in this section of the walkthrough -
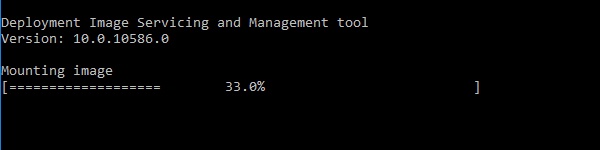
Run the following command to mount C:\DATA\install.wim in the C:\DATA\offline directory (a progress bar will be displayed whilst the command is being executed - it may take a while) -
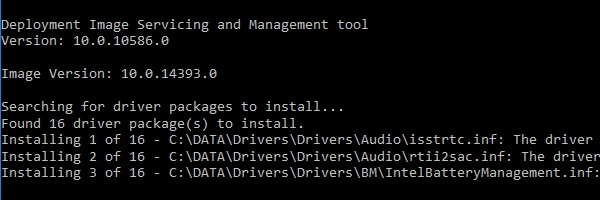
Run the following command to inject all drivers in directory C:\DATA\Drivers to the image mounted in the preceeding step (in directory C:\DATA\offline) -
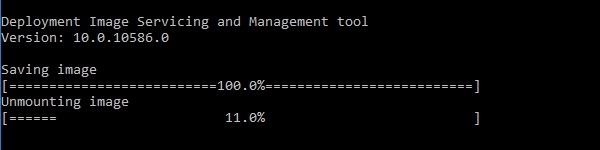
Run the following command to save (commit) the changes and unmount the image -
The process is similar to the steps completed in the Walkthrough Part 2 - Inject Intel Platform Drivers (install.wim) section, with the main difference being the injection of a single driver from the Intel Platform Drivers package. The graphics, audio and other drivers are not required in a WinPE environment - the \I2C\iaioi2ce.inf is enough to add keyboard and trackpad support. The following files/paths are used in this section of the walkthrough -
Run the following command to mount C:\DATA\boot.wim in the C:\DATA\offline directory (a progress bar will be displayed whilst the command is being executed - it may take a while) -
Run the following command to inject the keyboard and trackpad drivers in directory C:\DATA\Drivers to the image mounted in the preceeding step (in directory C:\DATA\offline). Please note that the text below has wrapped - this command should all be on one line -
Run the following command to save (commit) the changes and unmount the image -
Prepare a USB thumbdrive. Format as FAT32 and include the following files/structure (paths are relative to the drive root) -
The USB drive does not have to be marked as bootable - the UEFI specification includes support for some filesystems including FAT32 and default paths will be scanned for the 32-bit EFI boot loader on any media connected to the 100S.
Connect the USB drive created in Walkthrough Part 4 - Create Bootable USB section and press the Novo button to access the boot menu. Select option Boot Menu from the Novo Menu - your USB drive should appear in the list. Select the relevant option and press the
When WinPE has finished loading, start diskpart and format the Windows partition on the 100S's internal storage. I used the following series of commands to complete this process - ensure you check for the correct drive and partition numbers or you might lose valuable data.
Now format the EFI System Partition (ESP) on the 100S's internal storage. I used the following series of commands to complete this process - ensure you check for the correct drive and partition numbers or you might lose valuable data.
Now apply/extract the contents of \install.wim from the USB drive/volume to the Windows Operating System partition on the 100S. DISM can be used, or ImageX, however I prefer wimlib-imagex. Assuming the USB drive is mounted as drive/volume D: and the target volume is mounted as drive C:
Now use the bcdboot command to create the necessary boot files on partition/volume R: (the mounted EFI system Partition) -
Reboot the 100S and complete setup.
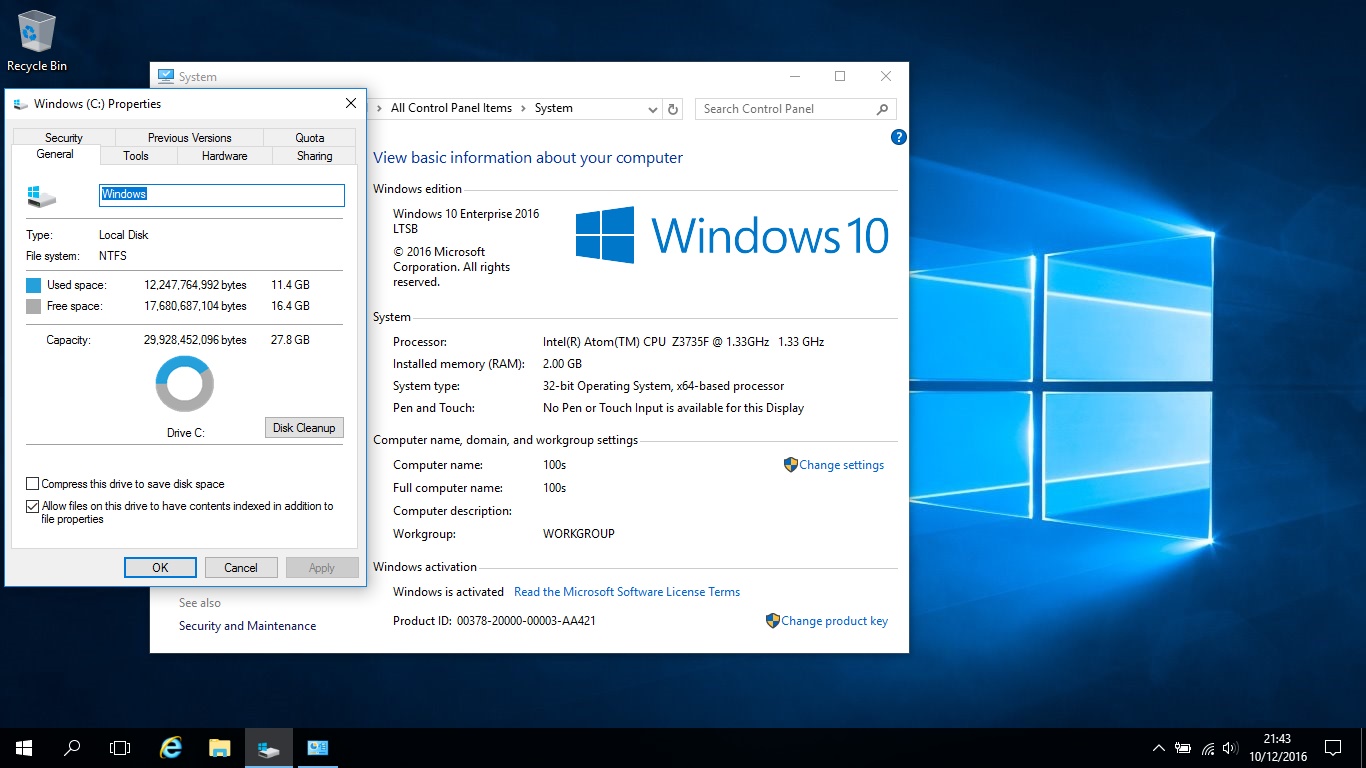
The Lenovo 100S User Guide states that -
WIMBoot was actually deprecated by Microsoft with the release of Windows 10, and was replaced with Compact OS. Based on the compression of system files in the preinstalled Operating System that ships with the 100S, Compact OS appears to have been enabled. It also is possible to use Compact OS on the newly installed Windows 10 LTSB.
There are several methods of using the Compact OS feature, some of which are covered here. Whilst I have not tried this myself, there are reports of the following command working manually post install - the command can be executed from within the running Windows 10 LTSB system -
I usually use a different method which involves the following -
E.g.
I mentioned earlier in this page that the laptop is intended for my 9 year old daughter. The following steps were taken to keep her safe when online on this device. Whilst I could have used Microsofts Family Safety features, this requires logging in using a Microsoft account.
OpenDNS Family Shield
OpenDNS Family Shield (see here) can be configured by setting the 100S WiFi Network connection to use the following OpenDNS FamilyShield nameservers -
Restrict Logon Times
Created a user account (Child). Restricted log on during the following times...
Force Log Off
If log on time restrictions have been set for an account, then it's possibly to use Group Policy to force the account to automatically lock or log off if the user is already logged on before the restricted period starts. To do this run gpedit.msc > User Configuration > Administrative Templates > Windows Components > Windows Logon Options > select Set Action to take when logon hours expire > select Enabled, then set the action to Lock or Logoff. Don't forget to save the changes.
Hide User Account Name
The following registry edit will force anyone logging on to type the account name and password - a list of user accounts will not be displayed.
Open regedit and browse to the following key -